



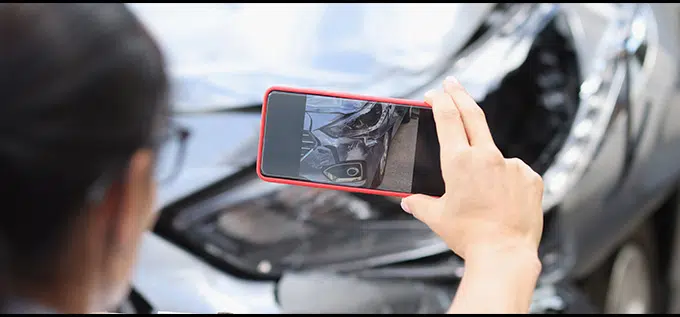

If you have been in a car accident, the photos you take in the minutes and hours afterward can make a real difference. Clear photos help establish fault in insurance claims, and they create permanent evidence of the accident scene that words alone cannot capture. This guide walks you through exactly what to photograph, how to do it, and what to do if you were unable to take pictures right away.
Right After a Car Accident: Safety First, Then Photos
Before you reach for your phone, prioritize safety. Do not stand in traffic or walk into busy lanes to get a better angle. Your health matters more than any photograph.
Here is what to do first:
- Check yourself and your passengers for injuries. If anyone is hurt, call 911 right away and seek medical attention.
- Move to a safe location if you can. Pull your car to the shoulder or a nearby parking lot when the vehicle still drives.
- Turn on your hazard lights so other drivers can see you. Use cones or flares if you have them.
- Wait for police officers to arrive if the crash involved injuries or major vehicle damage.
Capturing photos immediately after a car crash can impact insurance claims and personal injury cases. However, photos by themselves do not prove fault. They are one piece of evidence that may help support your story. Also keep in mind that laws and crash-report rules vary by state in the U.S., so treat this article as general guidance rather than state-specific legal advice.
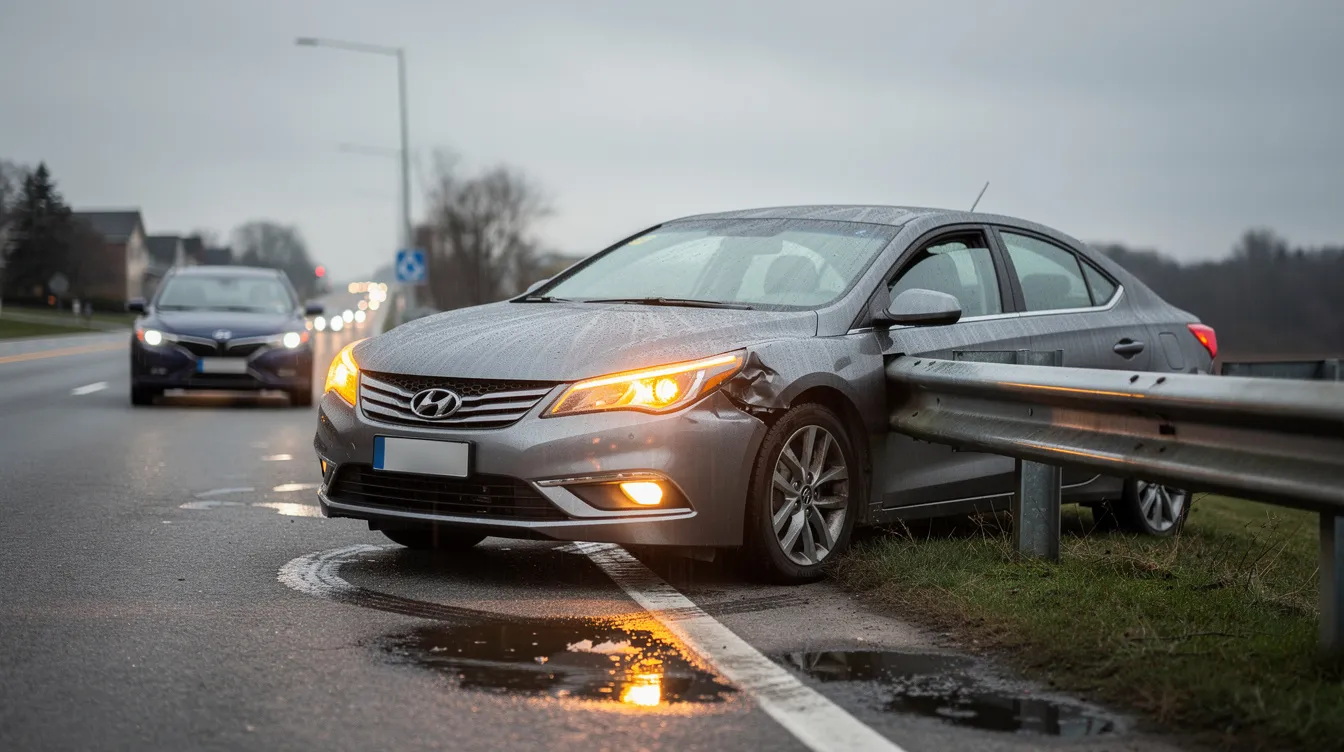
Photo Checklist: The Most Important Shots to Take First
Think of this as your quick photo checklist. If you only have a minute at the crash scene, focus on these shots:
- 4 to 8 wide shots of the entire scene from different sides (front, back, left, right).
- All vehicles involved and their positions in the road before anything is moved.
- License plates for every vehicle, captured clearly.
- Skid marks, debris, and broken glass on the road – these can disappear quickly once traffic resumes or cleanup begins.
- At least one or two photos of visible injuries such as cuts, bruises, or swelling.
- The other driver’s insurance info and driver’s license, photographed rather than written down to avoid mistakes.
Photos of the scene preserve evidence before it changes, and photographs can shorten disputes with insurance companies. When in doubt, take more photos than you think you need.
Wide Shots: The Big Picture of the Crash Scene
Wide shots tell the “story” of a collision. They show the overall scene – where cars ended up, what the road looked like, and what a driver could or could not see.
Stand at a safe distance and take photos from multiple angles: front, back, left side, and right side of the crash scene. Take 4 to 8 wide photos of the full scene so nothing important is left out.
Your wide shots should include:
- All vehicles involved and the lane markings around them
- Intersections, sidewalks, and nearby landmarks like street signs or buildings
- Traffic signals, stop signs, yield signs, and crosswalks in the same frame when possible
- The direction each vehicle was traveling before the crash happened, if you can tell
These photos help insurance adjusters, personal injury lawyers, and accident reconstruction experts understand the spatial relationships between vehicles, the road, and the environment.
Vehicle Positions, Damage, and License Plates
This section is about documenting the vehicles themselves. Clear vehicle damage photos carry the most weight with insurers and a legal team reviewing car accident cases.
Positions: Capture vehicle positions before they are moved. Photograph where each car or truck sits relative to lanes, curbs, and medians.
Damage: Take different angles of every damaged area on each vehicle:
- Front, rear, both sides, roof, and undercarriage if you can see it safely
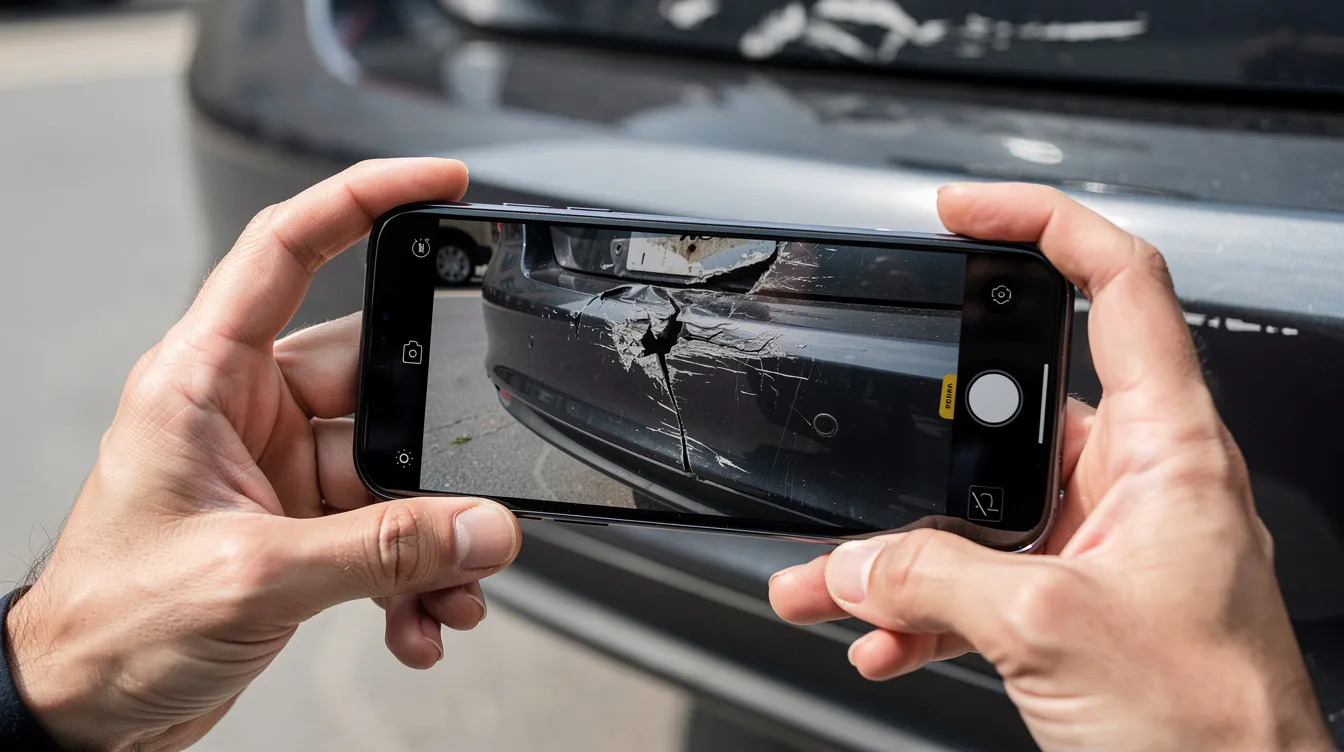
- Close up shots of dents, crushed panels, broken bumpers, and impact points
- Medium-distance shots that show damage in context
- Tire and wheel damage, which matters for post-accident evaluations
- Deployed airbags and interior damage – capturing these can be crucial for evidentiary purposes
Document scratches, dents, and shattered glass immediately. Also photograph any undamaged sides of your vehicle. This helps document any pre-existing vehicle damage and clarifies the extent of new damages.
Identification: Take clear photos of license plates on every vehicle and, if possible, the vehicle identification number (VIN) on the dashboard or door sticker.
Road, Weather, and Environment Details
Environment details can help show how the crash happened. Photos of environmental characteristics can illustrate visibility issues and other contributing factors, such as sun glare, wet roads, or poor lighting.
Document road conditions and weather factors that may have contributed to the crash:
- Skid marks: Photograph skid marks and debris before they disappear. Note length and direction.
- Road hazards: Potholes, gravel, fluid spills, standing water, ice, or oil spots near the crash scene.
- Debris fields: Broken glass, car parts, and where they landed. The debris pattern can indicate the force and direction of impact.
- Weather conditions: Take a photo that shows rain, fog, snow, or bright sunlight at the time. If the crash happened at night, capture how well the area was lit by streetlights.
- Other hazards: Construction zones, missing lane markings, barriers, or unlit areas nearby.
Documenting conditions like these helps tell the full story. Road evidence is the most time-sensitive – skid marks fade, debris gets swept away, and weather changes. Capture it as soon as you safely can.
Signs, Signals, and Traffic Controls
Clear photos of traffic control devices can matter a great deal in an insurance claim or in crash reports, especially when right-of-way is disputed.
Here is what to photograph:
- Traffic signals from the direction each driver came from, showing the intersection layout
- Stop signs and yield signs near the crash scene
- Speed limit signs, “No Turn” signs, or “One Way” signs that may affect who had the right-of-way
- Lane arrows, turn-only lanes, painted crosswalks, bike lanes, and merge lines on the pavement
- Obstructions that might block a driver’s view, such as parked trucks, overgrown trees, or large commercial signs
Traffic signs, signals, and traffic controls define what each driver was expected to do. Photographing them helps establish the rules of the road at that exact spot.
Injury Photos: When and How to Take Them
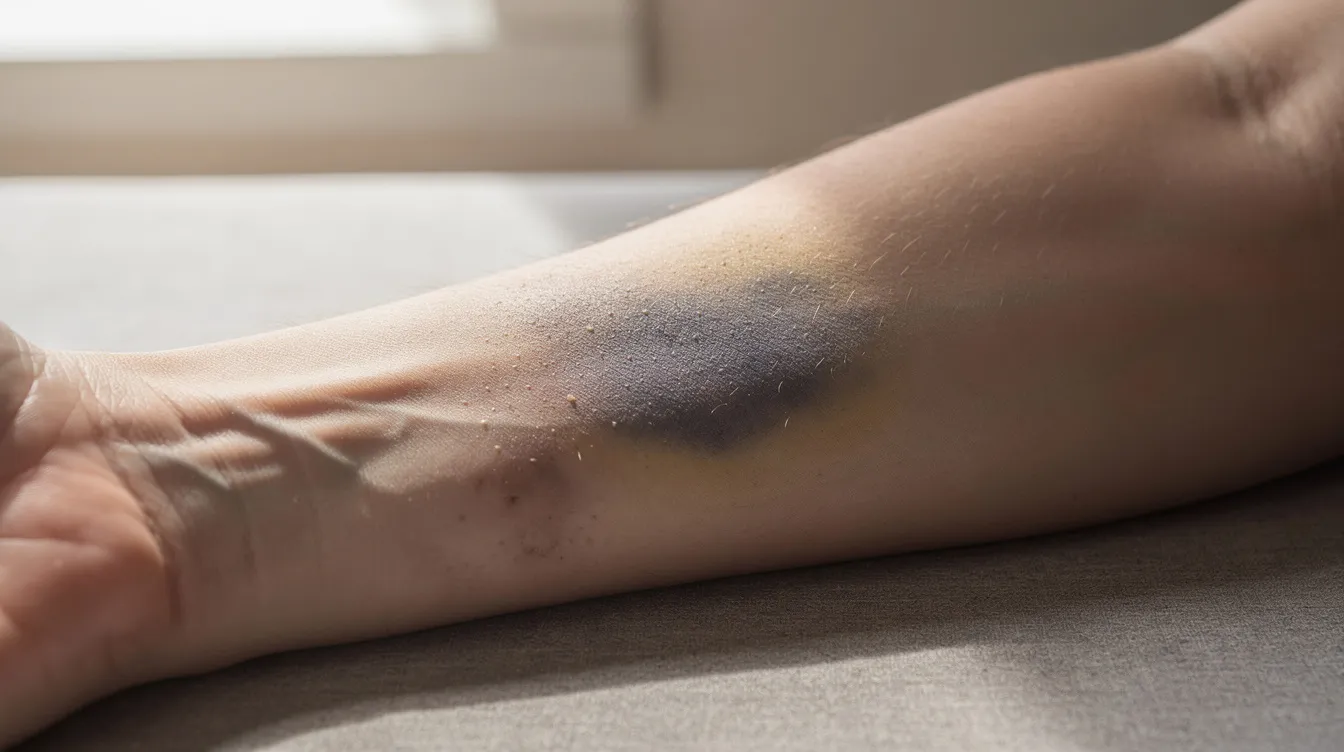
Injury photos can be difficult to think about, but they serve an important purpose. Photograph visible injuries immediately after an accident, as long as doing so does not delay medical care. Never move anyone who seems seriously hurt.
What to capture:
- Bruises, cuts, swelling, burns, seatbelt marks, or visible bandages
- Clear photos in good lighting, from more than one angle and distance
- Avoid overly graphic close ups when possible – medium-distance shots still show severity
Document injuries immediately, because they change quickly. Bruises darken, swelling increases then decreases, and cuts heal over days. Take new injury photos every few days to show progression over time. This series of images can help establish pain and suffering claims and may support requests for financial compensation.
Injury photos corroborate medical records and testimony. They give insurance adjusters and attorneys visual proof that matches what your medical bills and records describe. If a case involves serious harm or wrongful death, this kind of documentation becomes even more important.
Personal Property, Documents, and Insurance Info
Crashes can damage more than just vehicles. Photograph damaged personal items to support property damage claims:
- Child car seats, strollers, glasses, phones, laptops, tools, or work equipment
- Airbag burns on clothing, torn clothes, and damage inside the car (dash, steering wheel, seats)
- Medical devices like slings, braces, or crutches you received after the crash
Snap clear photos of the other driver’s insurance cards and driver’s license instead of writing the information down by hand. Taking photos of driver’s information and documentation can prevent transcription errors. Only do this when the other driver shares willingly – be respectful and ask before photographing personal documents.
Keep photos of tow truck receipts, repair estimates, and any documents that may help evaluate your case.
Using Your Phone: Multiple Angles, Clear Photos, and Basic Settings
Most people will use a smartphone to take pictures after a crash. A few simple habits make your photos far more useful.
- Multiple angles and distances: For each subject – vehicles, the crash scene, injuries – take a wide shot, a medium shot, and a close-up. This gives adjusters and attorneys three distances for every detail.
- Clean the lens and tap to focus. A smudged lens can ruin otherwise important photos.
- Use both flash and no flash for better detail capture, especially at night or in shadows.
- Keep date, time, and location services turned on so metadata is saved with each photo. Courts and insurers increasingly examine timestamps and GPS data.
- Do not use heavy filters. Keep photos sharp and neutral so they look authentic.
Take more photos than you initially think are necessary to cover all angles and details. Using a systematic approach to photo documentation enhances clarity for claims and legal processes. Always keep original files. If you crop or adjust a photo, save that as a separate copy. Your original, unedited photos are the ones that matter most.
If You Couldn’t Take Photos at the Crash Scene
Pain, shock, or chaos can make it impossible to take photos right away. This is completely normal, and it does not mean your case is lost.
Here is what you can still do:
- Photograph vehicle damage later at the tow yard, repair shop, or at home. Take the same day photos if possible, and shoot from the four corners plus close ups of every damaged area.
- Take injury photos as soon as possible after treatment. Include casts, stitches, braces, and any seatbelt marks. Keep copies of your medical records alongside these images.
- Ask passengers, friends, family, or nearby businesses if they have photos or surveillance footage of the crash scene or your vehicle right after impact.
- Gather other evidence: Police crash reports, medical records, and any available security or traffic camera footage from government entities or private businesses can also help document what happened.
Even delayed photos are better than no photos at all. The key is to capture what you can, as soon as you can.
Saving, Organizing, and Sharing Your Photos
Good organization keeps crash photos ready for an insurance claim and any personal injury review.
- Back up photos to at least one extra place – cloud storage, a home computer, or an external drive.
- Create simple folders such as “Crash Scene,” “Vehicle Damage,” “Injuries,” and “Documents.” Place photos into each group.
- Do not delete photos, even blurry ones. Do not add filters. Maintain the original unedited photographs for legal and insurance documentation needs.
- Do not post crash or injury photos on social media while a claim is open. Insurance companies may use your posts against you.
If you are unsure whether your photos are enough, Los Defensores can connect Spanish-speaking crash victims with personal injury lawyers for a free consultation to review your photos, crash reports, and next steps.
Important Reminders About Laws and Legal Help
Each state has its own rules for car accident claims, time limits, and what counts as key evidence. What works in one state may not apply in another.
Keep these points in mind:
- Clear photos can support a claim, but they do not guarantee any specific result or payment from an insurance company. Other evidence – like police reports, medical bills, and witness statements – also matters.
- Report the crash as required in your state and keep all photos and documents together in one safe place.
- Injured drivers and passengers may want to talk with a personal injury lawyer, especially if injuries are serious, medical care is ongoing, or fault is disputed.
Los Defensores is an advertising service that helps Spanish-speaking people in the U.S. connect with independent personal injury attorneys for a free, confidential consultation in their language.
With a combined experience spanning decades across a nationwide network, the attorneys in this network understand what photos and documentation carry the most weight. If you or someone you love was hurt in a crash, exchange information at the scene, preserve evidence, and then reach out for the medical help and legal guidance you deserve.